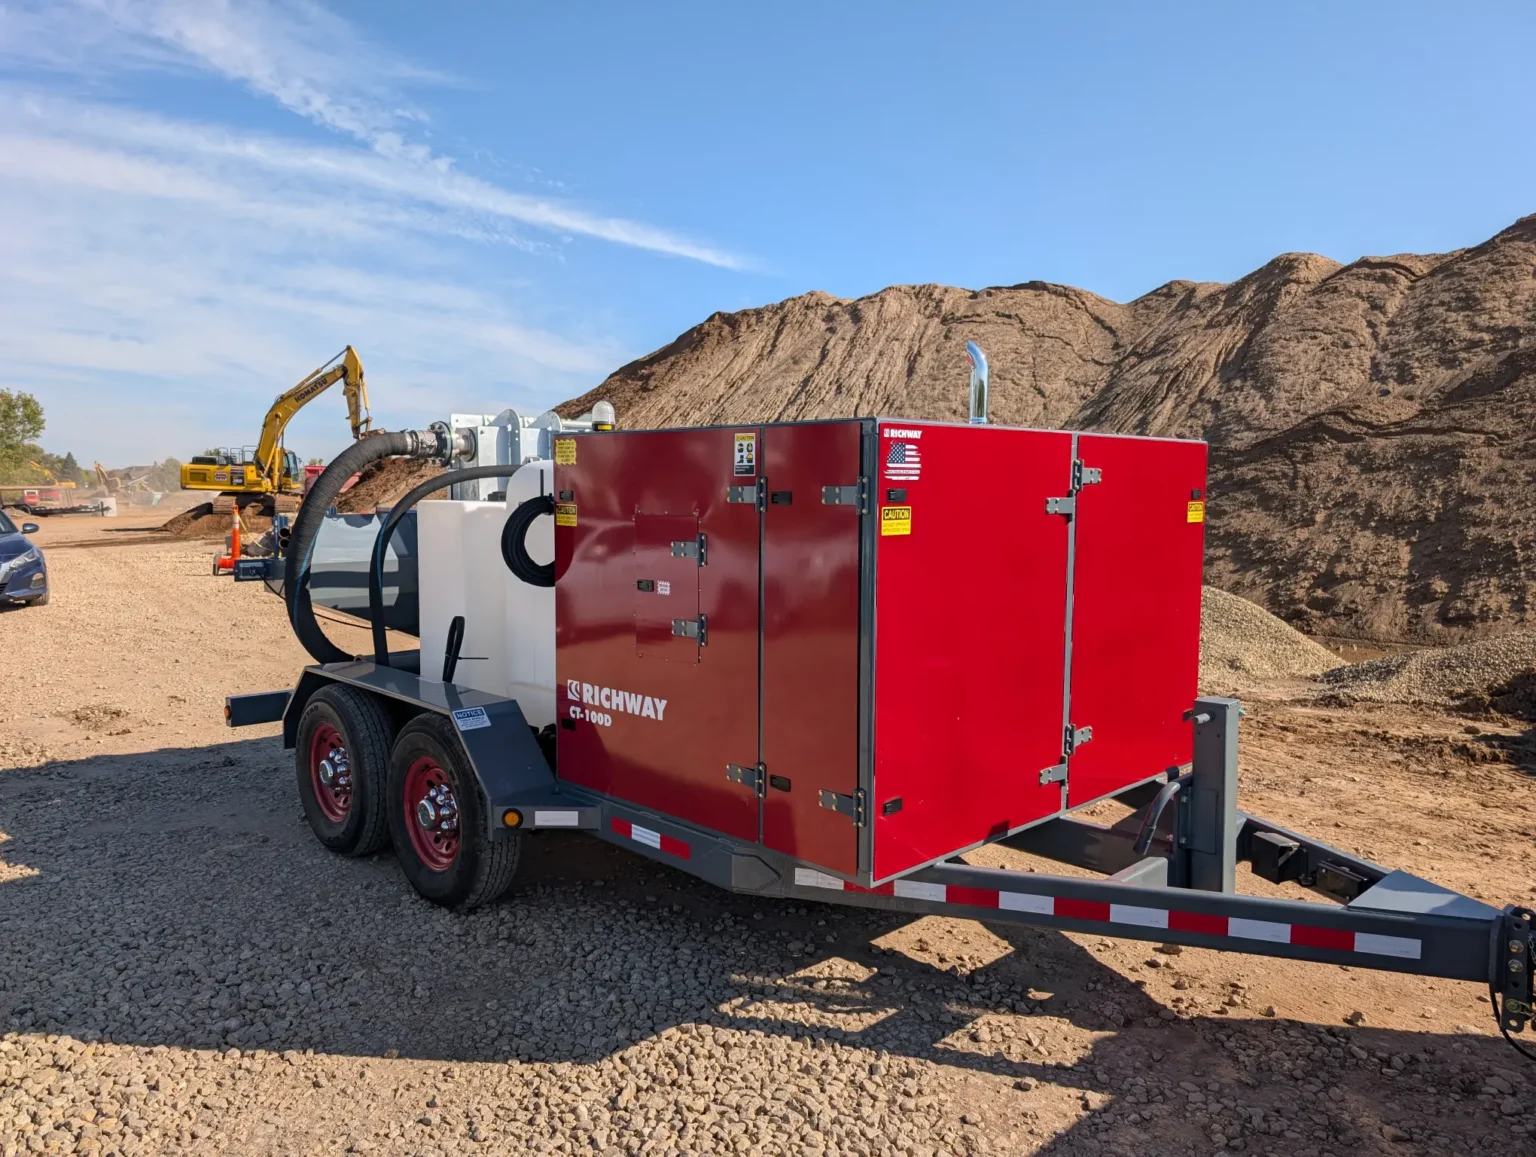
When temperatures drop below freezing, a few minutes of winter maintenance can save your CT-100D from costly downtime. Any time the machine will be stored in sub-freezing conditions, it should be winterized so water doesn’t freeze inside valves, pumps, and lines. Frozen water can crack components, damage seals, and take your machine out of service when you need it most.
This post walks through the same process we show in the “How to Winterize a CT-100D” video and gives you step by step instructions to follow along.
What You’ll Need
CT-100D parked on level ground, engine off and cool
RV antifreeze (non-toxic) or windshield washer fluid– approximately 2 to 3 gallons for the entire system
Basic hand tools for removing the Y-strainer cap (if needed)
Safety glasses and gloves
Pro tip:Treat winterization as part of your regular maintenance routine right alongside greasing, fluid checks, and cleaning.
Step-by-Step: Winterizing Your CT-100D
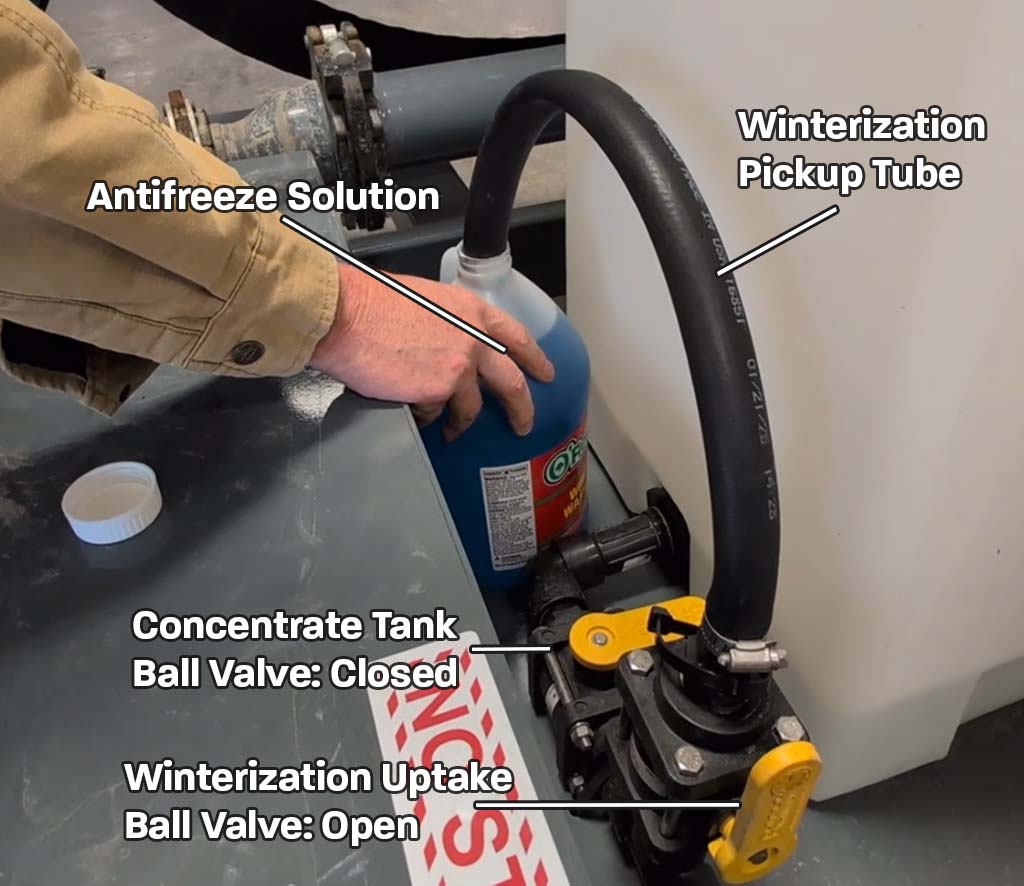
Step 1: Winterize the Concentrate Circuit
This circuit requires about 1/4 to 1/2 gallon of winterization fluid.
Setup
Locate the concentrate tank (at the back of the machine).
Find the two ball valves near the tank.
Close the ball valve that shuts off the concentrate tank.
Open the accessory uptake ball valve. This valve is attached to a winterization pickup tube.
Place the attached pickup tube into a gallon jug of windshield washer fluid or RV antifreeze.
Running the Circuit (Engine Running)
On the control panel’s Main Screen Production/Settings/Mode Select – Manual
Once in Manual, go back to main screen and select the Concentrate circuit.
Hit the Master On/Off button. This will start the concentrate pump and pull the fluid from the jug.
Monitor the fluid jug. Wait until you see the level drop by about 1/4 to 1/2 gallon.
Once the required amount is drawn, hit the Master Off button to turn the concentrate pump off.
Deselect the Concentrate circuit on the control panel.
Step 2: Winterize the Pressure Washer Circuit
This circuit requires about ½ gallon of winterization fluid.
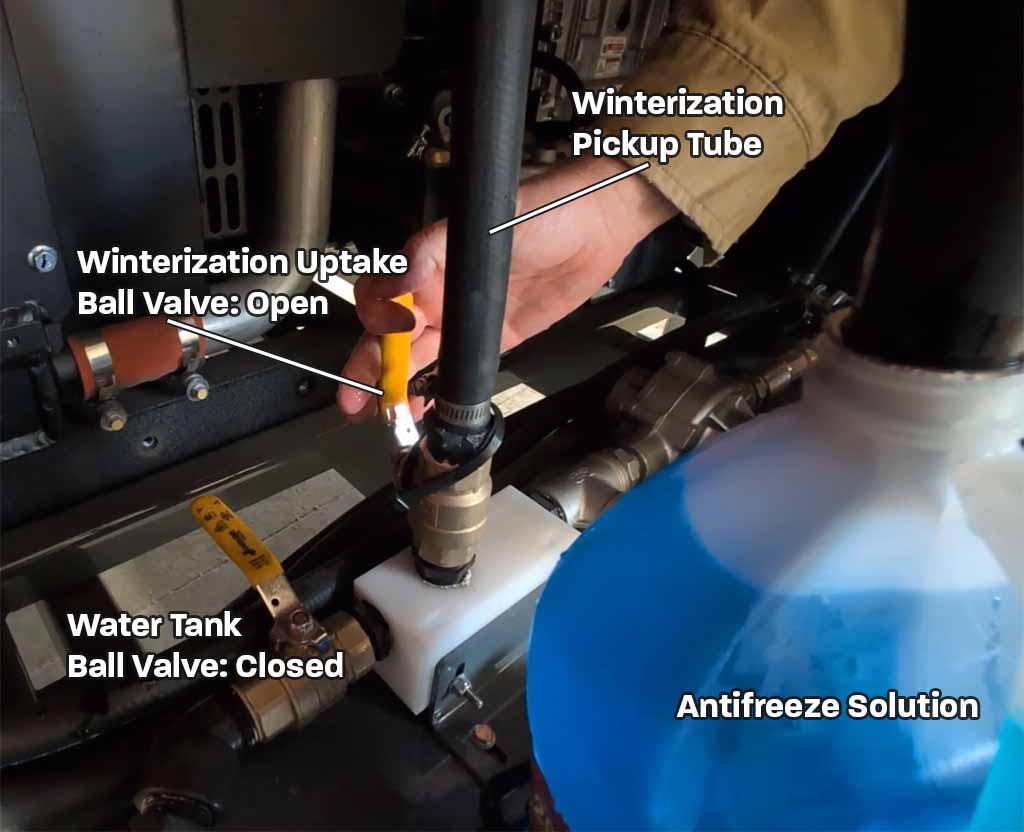
Setup
Open the power unit area to access the second winterization pickup tube.
Place the pickup tube down into a gallon jug of winterization fluid (you can use the remainder of the first jug or a new one).
Locate the ball valves for the main tank.
Close the ball valve coming from the main water tank.
Open the winterization ball valve—this allows fluid to be sucked in from the gallon jug.
Running the Circuit (Engine Running)
On the control panel, turn the Pressure Washer On.
The machine will begin to draw fluid into the pressure washer circuit.
Monitor the fluid jug. Wait until you see about 1/2 gallon of fluid drawn into the circuit.
Once the required amount is drawn, turn the Pressure Washer Off on the control panel.
Step 3: Winterize the Primary Water Circuit
This is the largest circuit and will require all remining fluids. For this circuit, we will stay in the CT-100D’s power unit area, and access the second winterization pickup tube as we did with the pressure washer winterization.
Running the Circuit (Engine Running)
Ensure you are on the Main Screen (Manual Mode).
Activate the Water circuit on the control panel.
Hit the Master On/Off button. The water pump will begin to draw the fluid very rapidly through the second winterization pickup tube.
Monitor the fluid jugs.
You will quickly empty the first jug. Place a second, and potentially a third, gallon jug of winterization fluid on the pickup tube.
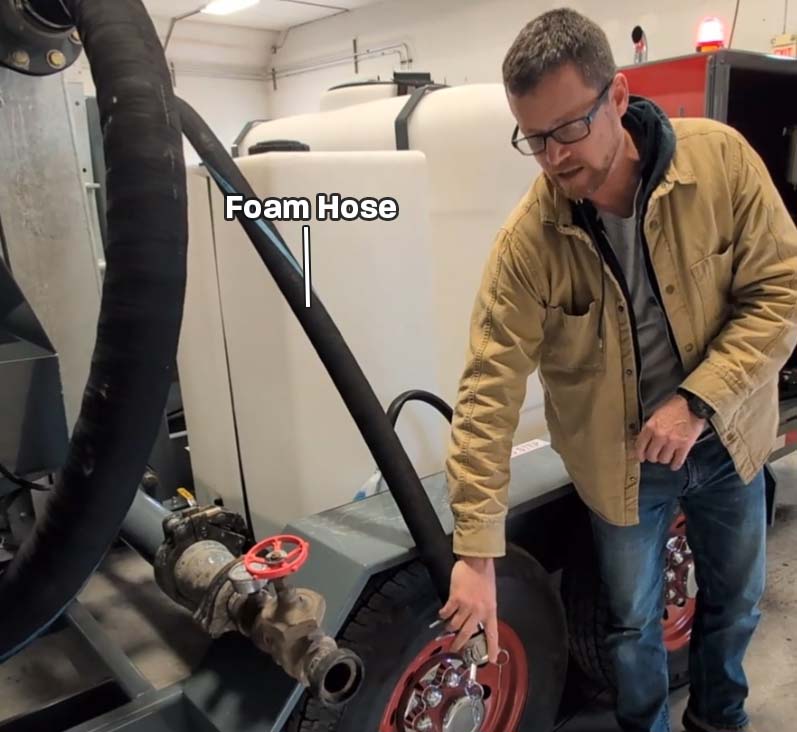
Check the output. Go to the foam hose and watch for fluid coming out.
When the fluid turns the distinctive color of the antifreeze (blue for washer fluid, pink for RV antifreeze), you know the winterization fluid has completely flushed the primary water circuit.
Hit the Master Off button to turn the water pump off.
Step 4: Final Drain and Filter Check
To ensure no pockets of water remain, perform these final steps:
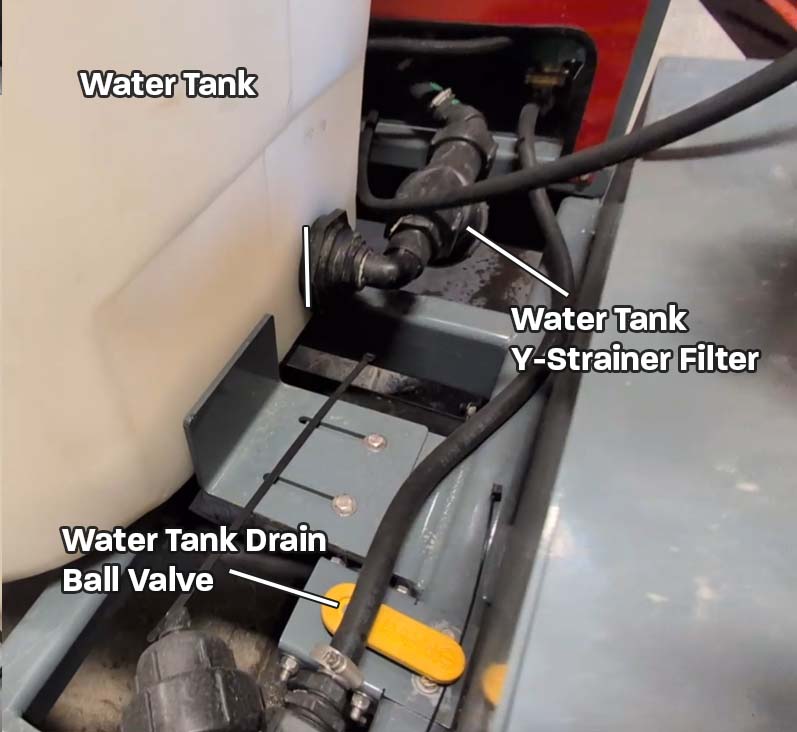
Drain the Water Tank: Locate the drain ball valve at the bottom of the main water tank. Open this valve to allow as much water as possible to drain out of the tank.
Inspect the Filter: Locate the water tank Y strainer filter.
Unscrew the filter housing.
Ensure there is absolutely no water left inside the filter area.
That’s it! Your CT100D is now fully winterized and ready for storage. If you have any questions or need further assistance, please give us a call at: