Replacing a worn pinch valve sleeve starts with proper removal. Knowing how to remove the sleeve without damaging the valve body can make routine maintenance easier and help keep your equipment operating reliably.
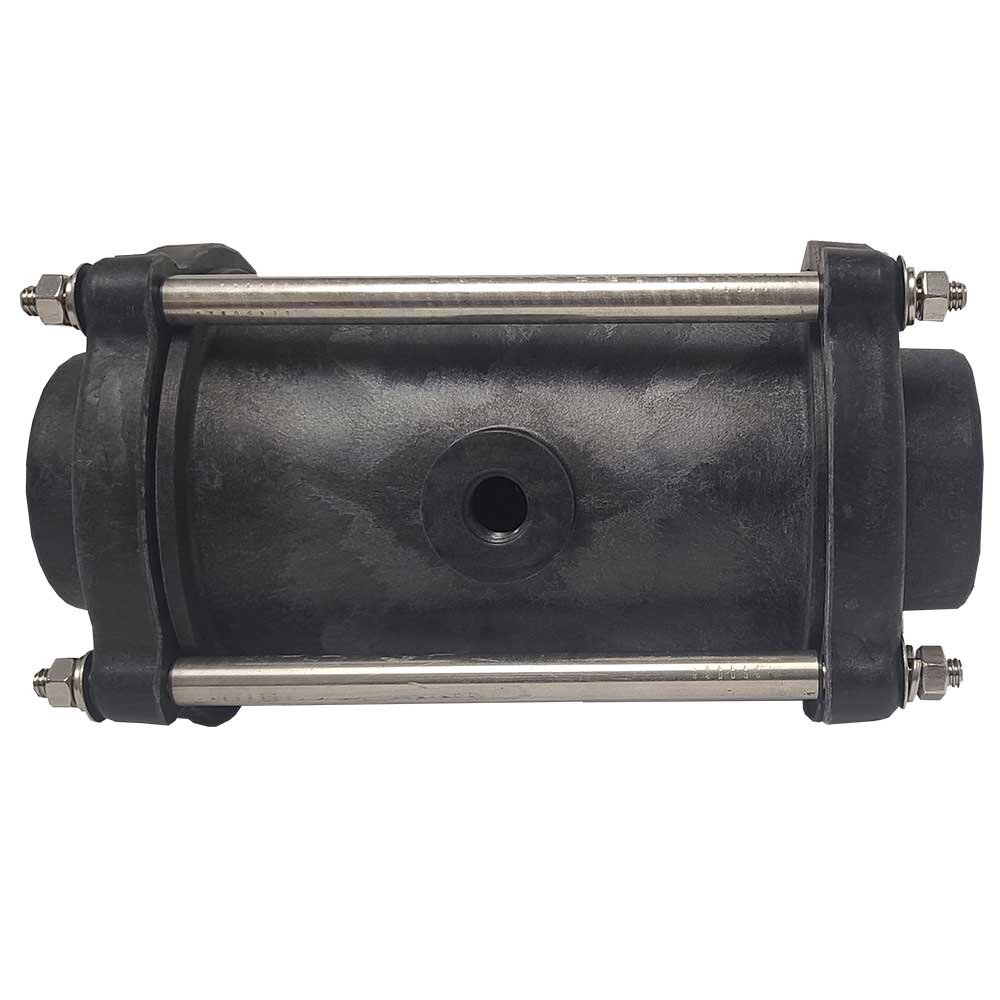
Richway’s Airpinch™ valves are designed with replaceable rubber sleeves, allowing operators to service a worn or damaged sleeve without replacing the entire valve assembly.
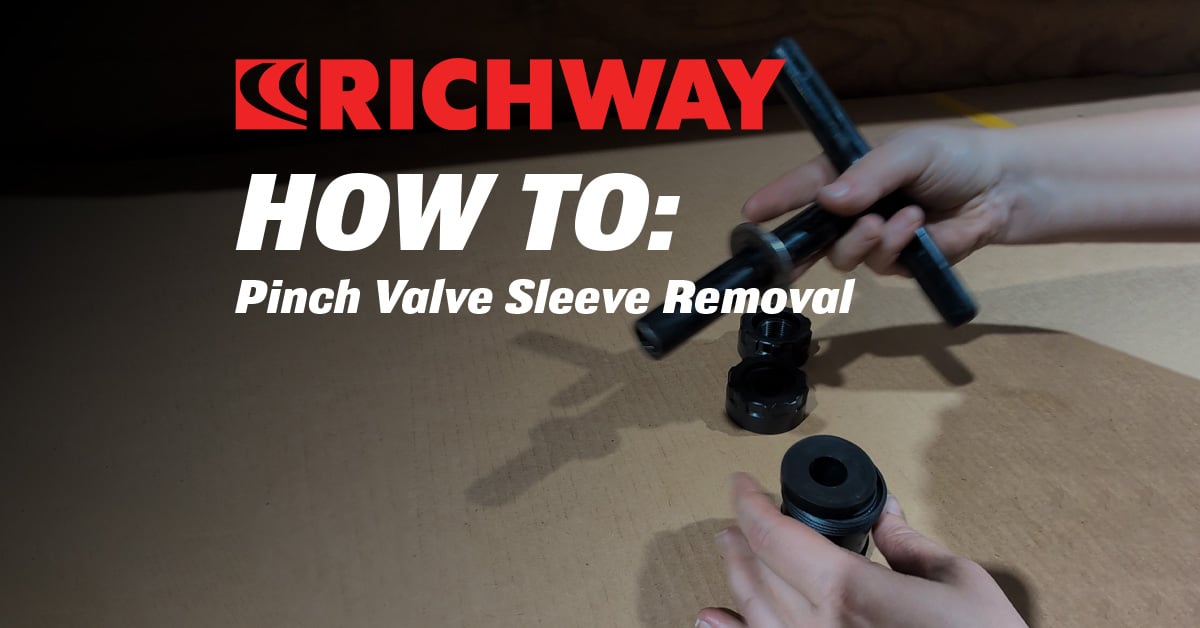
Watch: Pinch Valve Sleeve Removal
In this quick how-to video, we demonstrate pinch valve sleeve removal and provide a visual reference for servicing your Richway Airpinch valve.
Why Pinch Valve Sleeve Maintenance Matters
The rubber sleeve is the primary flow-control component of an air-operated pinch valve. Compressed air applies pressure to the sleeve, causing it to close and restrict material flow. When that pressure is released, the sleeve opens to allow material to pass through.
Over time, normal wear, operating conditions, and material exposure can affect sleeve performance.
A worn or damaged sleeve may lead to incomplete shutoff, leakage, or inconsistent operation. Replacing the sleeve when necessary helps maintain reliable flow control while extending the useful life of the valve assembly.
A Few Things to Remember
Before removing a pinch valve sleeve:
Relieve all pressure. Shut down the system and ensure both the process line and actuation air supply are safely depressurized.
Remove the end caps. Follow the appropriate procedure for your valve model.
Avoid sharp tools. Take care not to damage the valve body or surrounding components during removal.
Inspect the components. Check the valve body and end caps for wear or damage before installing a replacement sleeve.
Always follow the maintenance instructions for your specific Richway valve model.